Make Your Own Kefir at Home
Foolproof Kefir!
Kefir is a fermented milk drink that has been around since the beginning of recorded history. It has been valued for centuries as a gut-friendly fermented drink. and is packed with gut-supporting bacteria and yeasts. The process of making kefir is unique in its simplicity. Traditional kefir uses kefir ‘grains’ to culture milk. The grains are symbiotic living organisms, that contain lactic acid-producing bacteria and yeast. These microbes multiply and ferment the sugars in milk, and as long as they’re kept in fresh milk at the right temperature, they will stay reproducible indefinitely. For some people the process of keeping kefir grains alive is a responsibility.
Traditional kefir vs Kefir Starter
Traditional kefir is made using kefir grains — living clusters of bacteria and yeast that ferment the sugars in milk. With the right care, the grains continue to grow and can be reused indefinitely. While many people enjoy the process, others find the ongoing feeding and maintenance a little time-consuming.
Our new Kefir Starter is a freeze-dried kefir culture that works much like a yogurt starter. It contains the same types of beneficial bacteria and yeasts found in traditional kefir, but it does not form grains during fermentation. You get the tangy flavour and probiotic benefits of kefir, with a preparation method that’s quick, convenient, and beginner-friendly.
Reculturing
Although this starter does not produce actual kefir grains, you can still reculture your kefir multiple times. Simply reserve ½ cup of finished kefir, add it to fresh milk, and incubate again in the yogurt maker. Repeat this process until the kefir becomes noticeably more sour, thinner, or less active, then begin again with a fresh sachet of Kefir Starter.
What does homemade kefir taste like?
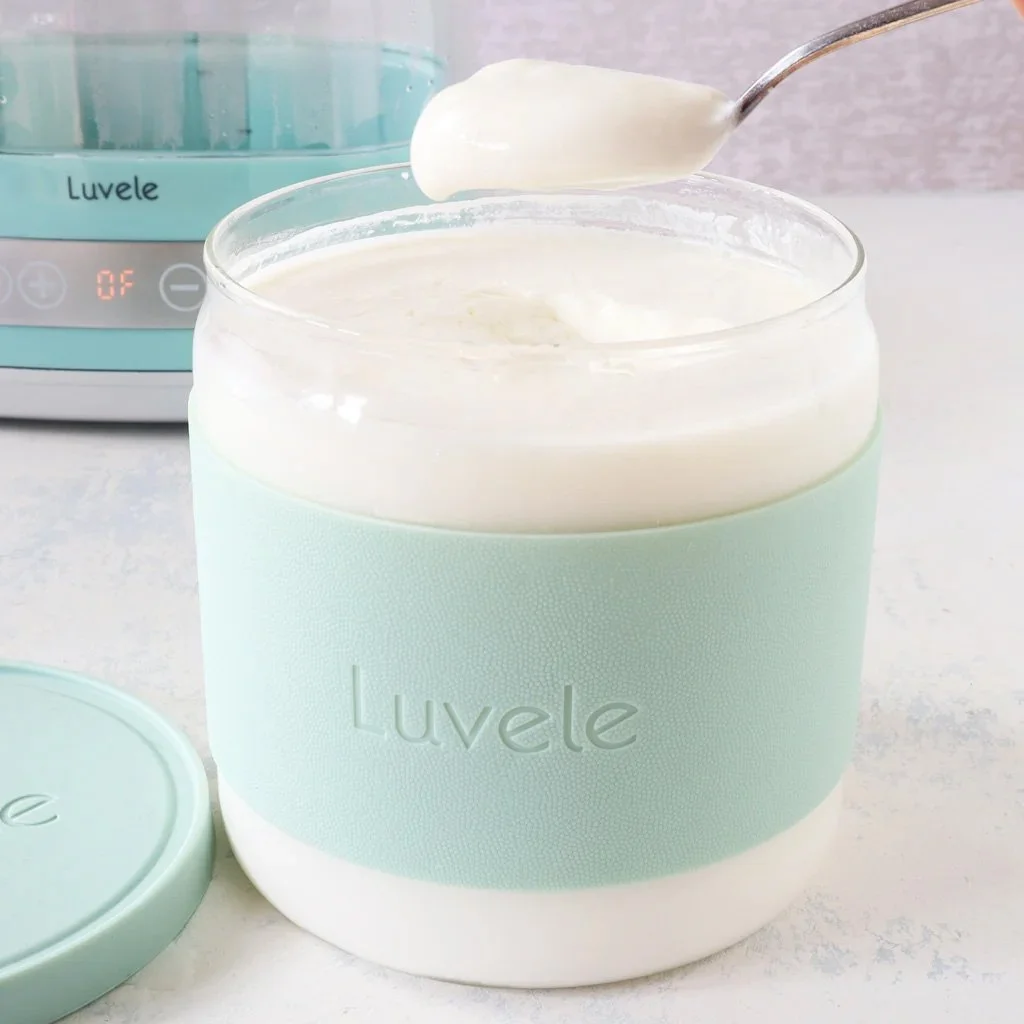
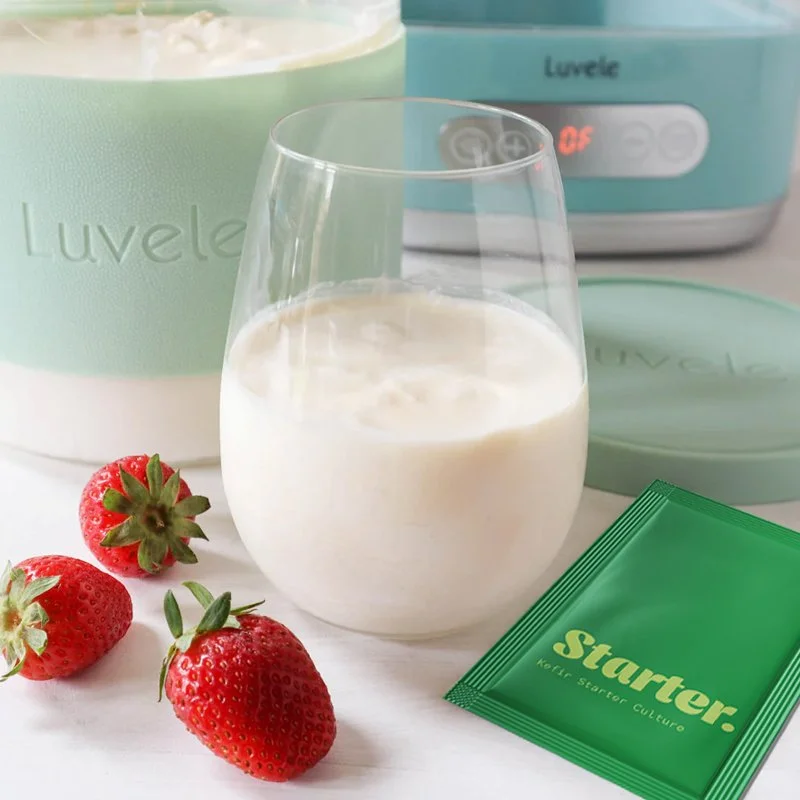
Homemade kefir has a tangy, slightly fizzy, pleasantly sour flavour and a texture similar to thin yogurt. Many people find it tastes fresher and more complex than most store-bought kefir.
What’s the difference between yogurt and kefir?
Both yogurt and kefir are fermented dairy foods, but kefir generally contains a wider variety of beneficial bacteria and yeasts. Traditional yogurt cultures typically contain a handful of bacterial strains, while kefir cultures are known for their greater microbial diversity.
Another advantage is simplicity: kefir can be made with cold milk straight from the fridge — no heating required.
What milk should I use?
Full cream (whole milk) produces the richest, creamiest kefir. Half-and-half (where available) creates an even thicker result. Other milks can also be used, though the texture may vary.
Goat milk and raw milk typically produce a thinner, more drinkable kefir.
Many people who are sensitive to lactose find homemade kefir easier to enjoy because much of the lactose is fermented into lactic acid during the culturing process.
How to make kefir thicker
If you prefer a spoonable kefir, simply strain it after chilling. Pour the kefir into a cheesecloth-lined strainer, paper coffee filter, or nut-milk bag set over a bowl. Let it drain for several hours. The longer it drains, the thicker it becomes.
Don’t discard the whey that collects in the bowl — store it in a glass jar in the fridge and use it in smoothies, baking, fermenting, or other recipes.
Ingredients
2 litre (2.1 qt) of full cream milk (whole or half and half)
1 packet of Kefir Starter
Directions
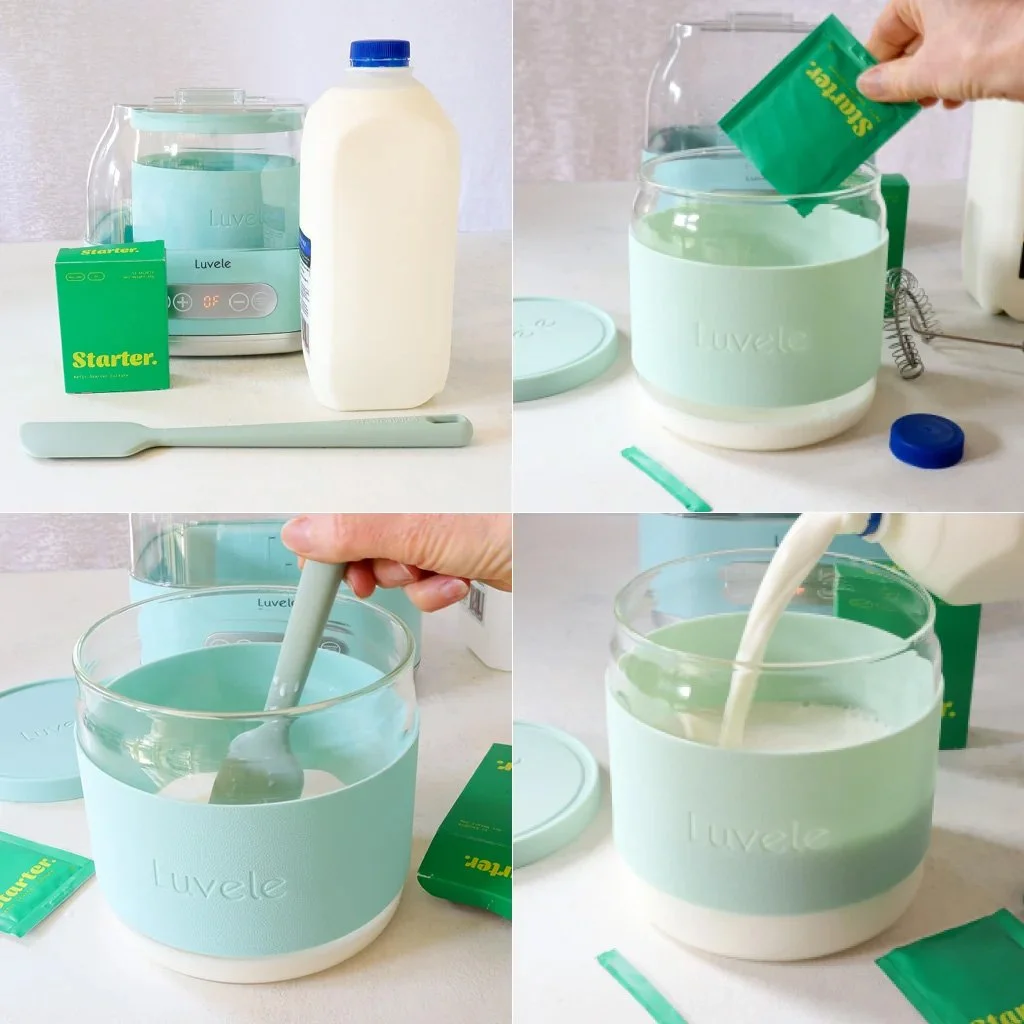
1/ Before you begin, sterilise the Luvele yogurt making glass jar, lid and any utensils with boiling water. This simple step helps prevent unwanted bacteria from competing with the starter culture and ensures the best possible results.
2/ Pour approx. 1 cup of milk into the yogurt making glass jar.
3/ Open the Kefir starter sachet and add the entire contents to the milk. Whisk thoroughly for about 30 seconds until completely dissolved.
4/ Pour in the remaining milk and whisk for another 30 seconds
5/ Alternatively, pour all of the milk into the jar, add the starter culture and whisk continuously for about 2 minutes.
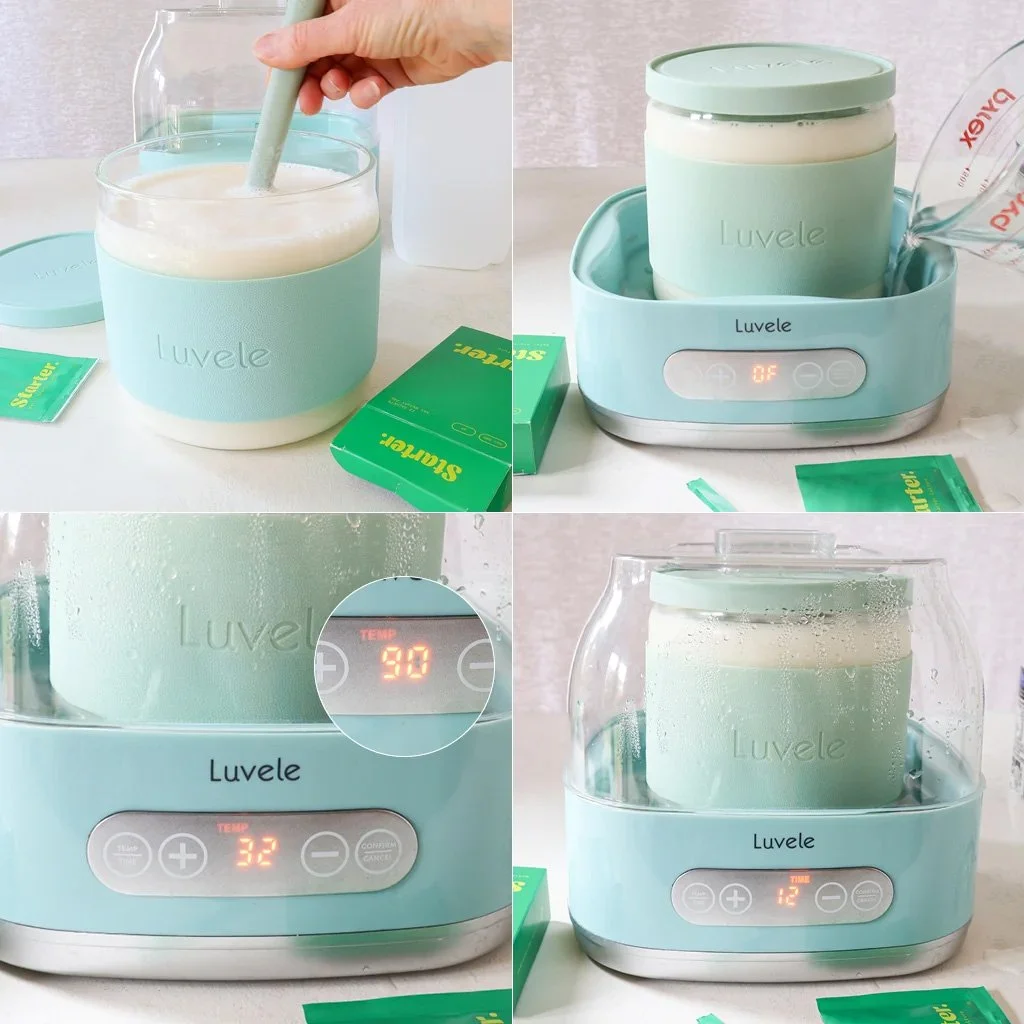
6/ Secure the lid on the jar and place it into the yogurt maker.
7/ Slowly pour water into the base of the yogurt maker. Do not fill above the 'Tall' water level marked on the inside wall.
8/ Place the cover lid on the yogurt maker.
9/ Set the temperature to 32°C (90°F) and the timer to 12-hours using the digital control panel.
10/ When the fermentation time is complete, carefully remove the cover lid, allowing any condensation to drip back into the water bath.
11/ Switch the yogurt maker off and gently remove the yogurt jar. Avoid stirring as this may disturb the set.
12/ Place the jar in the refrigerator for at least 6 hours to chill and fully set before serving.