
Traditional Style Homemade Yogurt with Acidophilus
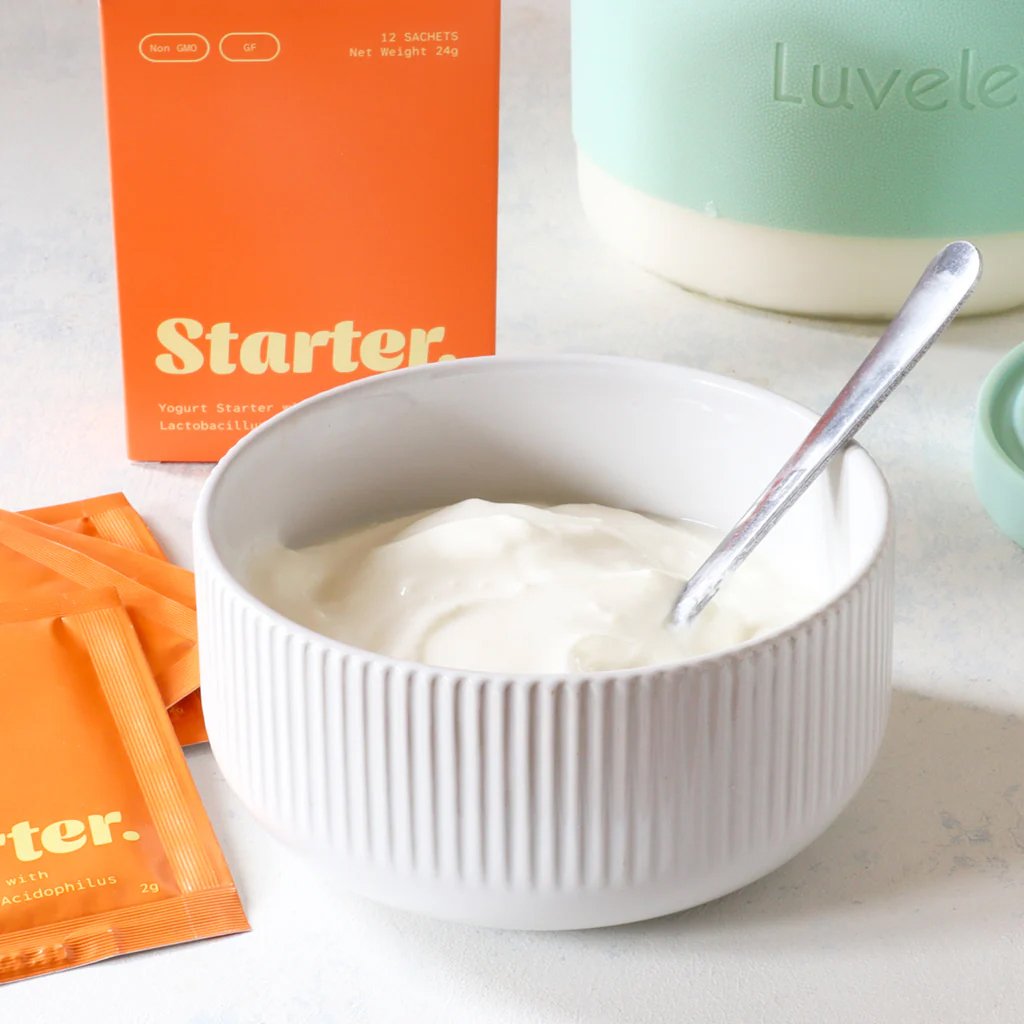
Support your wellbeing with acidophilus!
Lactobacillus acidophilus, often simply called acidophilus, is one of the best-known beneficial bacteria found naturally in the human digestive system. It also occurs in traditionally fermented foods such as yogurt, where it has long been valued for supporting digestive health and helping to maintain a balanced gut microbiome. Including foods rich in live active cultures as part of your diet is a simple and delicious way to support everyday wellbeing.
About Traditional Yogurt Acidophilus Starter
Whether you're looking to support your digestive wellness, reduce food waste, or simply enjoy delicious homemade yogurt, Acidophilus starter makes it easy to bring the benefits of traditional fermentation into your kitchen.
Discover the benefits of Lactobacillus acidophilus with this premium starter culture that makes thick, creamy homemade yogurt with a classic tangy flavour.
Dairy Free Yogurt
You can also make dairy-free homemade yogurt with this Acidophilus Starter. Although the starter culture is grown in dairy, the trace amount of milk present is consumed by the beneficial bacteria during the fermentation process.
Ingredients
2 litre (2.1 qt) of full cream milk (whole or half and half)
1 packet of Acidophilus Starter
Directions
1/ Before you begin, sterilise the Luvele yogurt making glass jar, lid and any utensils with boiling water. This simple step helps prevent unwanted bacteria from competing with the starter culture and ensures the best possible results.
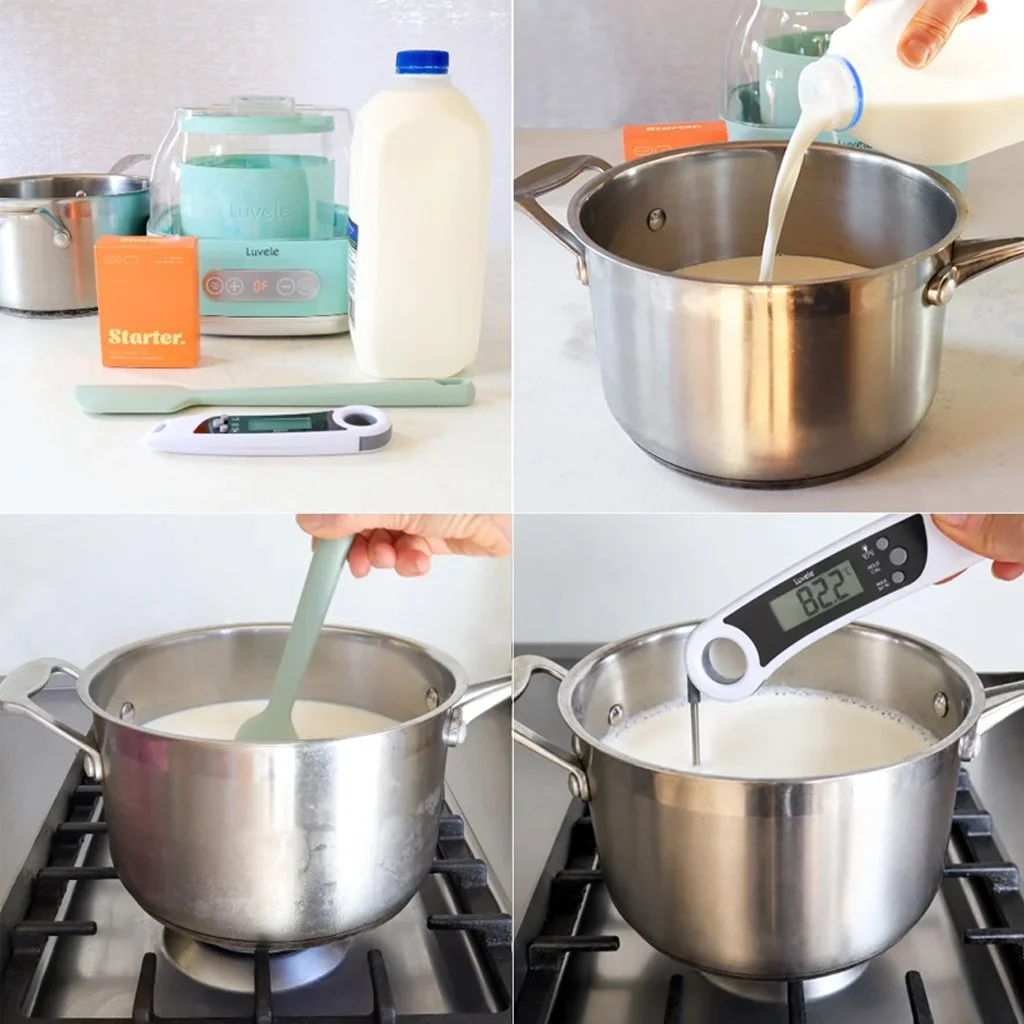
2/ Measure the required quantity of milk for your Luvele yogurt maker and pour it into a large, clean saucepan.
3/ Heat the milk to 82°C (180°F) stirring frequently to avoid scorching. Use a thermometer for accuracy. Hold it at this temperature for 2–10 minutes. Holding the temperature denatures the proteins, helping produce a thicker, creamier yogurt.
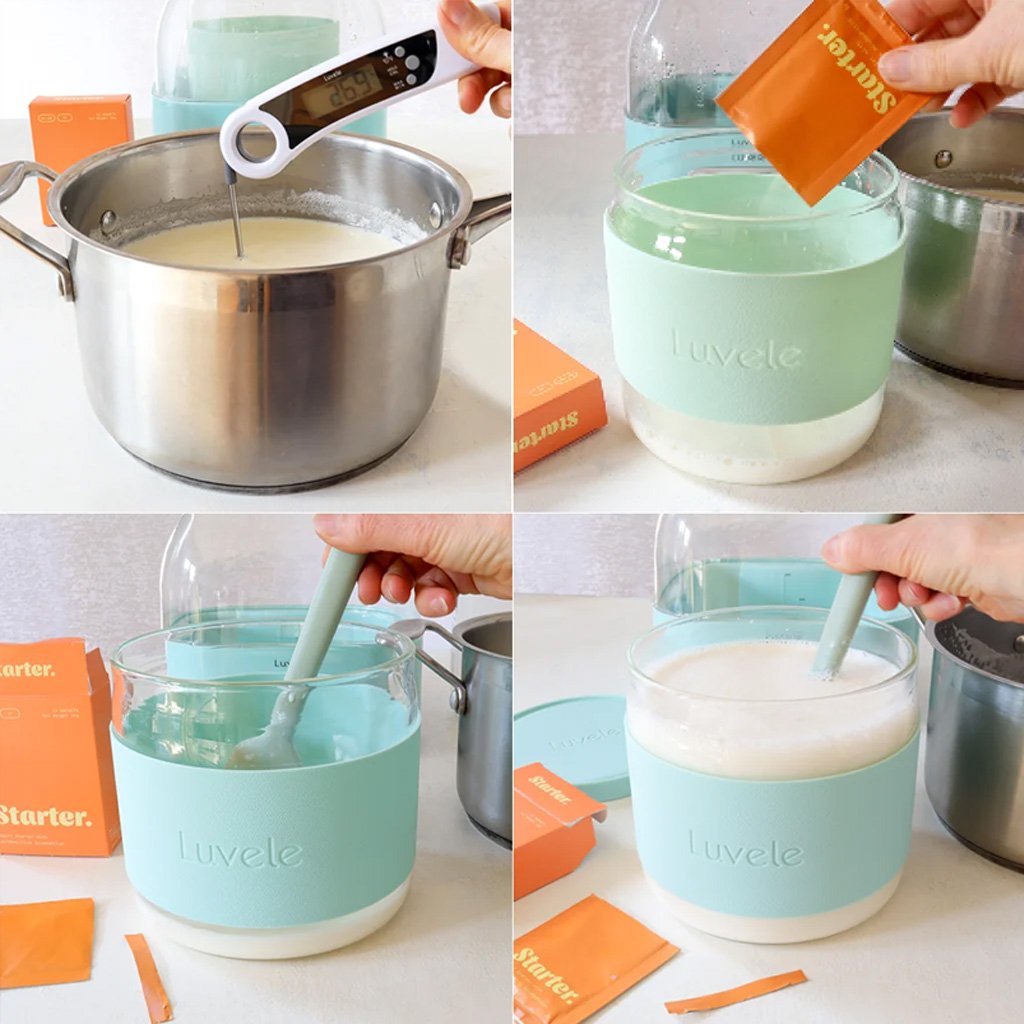
4/ Allow the milk to cool to below 43°C (109°F). It doesn't matter if it cools well below this temperature or even reaches room temperature — it simply must not be hotter than 43°C (109°F) when the starter is added.
5/ Pour approximately 1 cup of the cooled milk into the yogurt-making glass jar.
6/ Open the starter sachet and add the entire contents to the milk. Stir with a spatula for about 30 seconds until completely dissolved.
7/ Pour in the remaining milk and whisk for another 30 seconds. Avoid whisking.
8/ Alternatively, pour all of the milk into the jar, add the starter culture and stir with a spatula continuously for about 2 minutes.
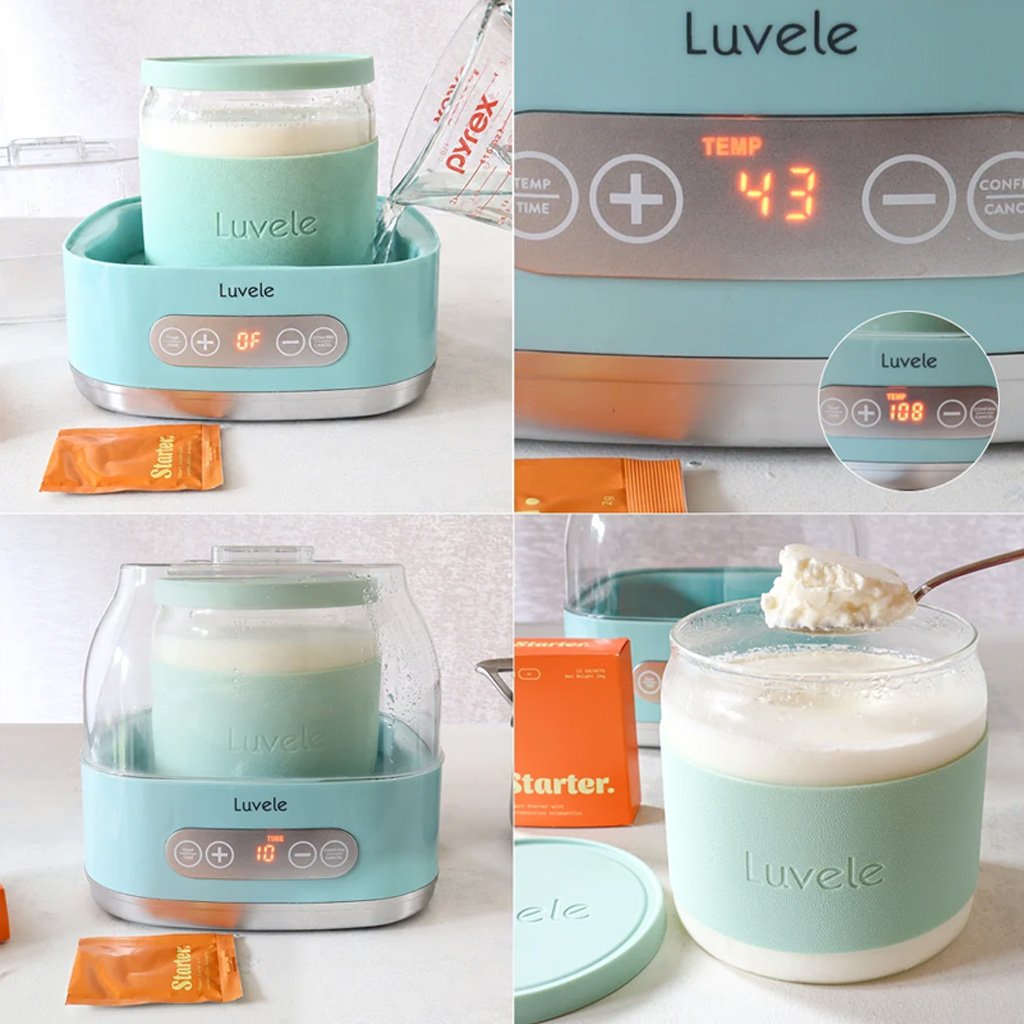
9/ Secure the lid on the jar and place it into the yogurt maker.
10/ Slowly pour water into the base of the yogurt maker. Do not fill above the 'Tall' water level marked on the inside wall.
11/ Place the cover lid on the yogurt maker.
12/ Set the temperature to 43°C (108°F) and the timer to 10-hours using the digital control panel.
13/ When the fermentation time is complete, carefully remove the cover lid, allowing any condensation to drip back into the water bath.
14/ Switch the yogurt maker off and gently remove the yogurt jar. Avoid stirring or moving the warm yogurt more than necessary, as this may disturb the set.
15/ Place the jar in the refrigerator for at least 6 hours to chill and fully set before serving.
RECULTURING
Once you’ve made your first batch of Acidophilus, you can use some of it to make more kefir, so don’t drink all of it! Simply reserve half a cup of this Acidophilus, add it to fresh milk, then incubate in the yogurt maker again. You can do this up to seven times or perhaps more. When your batch is too sour, or doesn't thicken as before, it's time to start over with a Acidophilus Starter packet.